
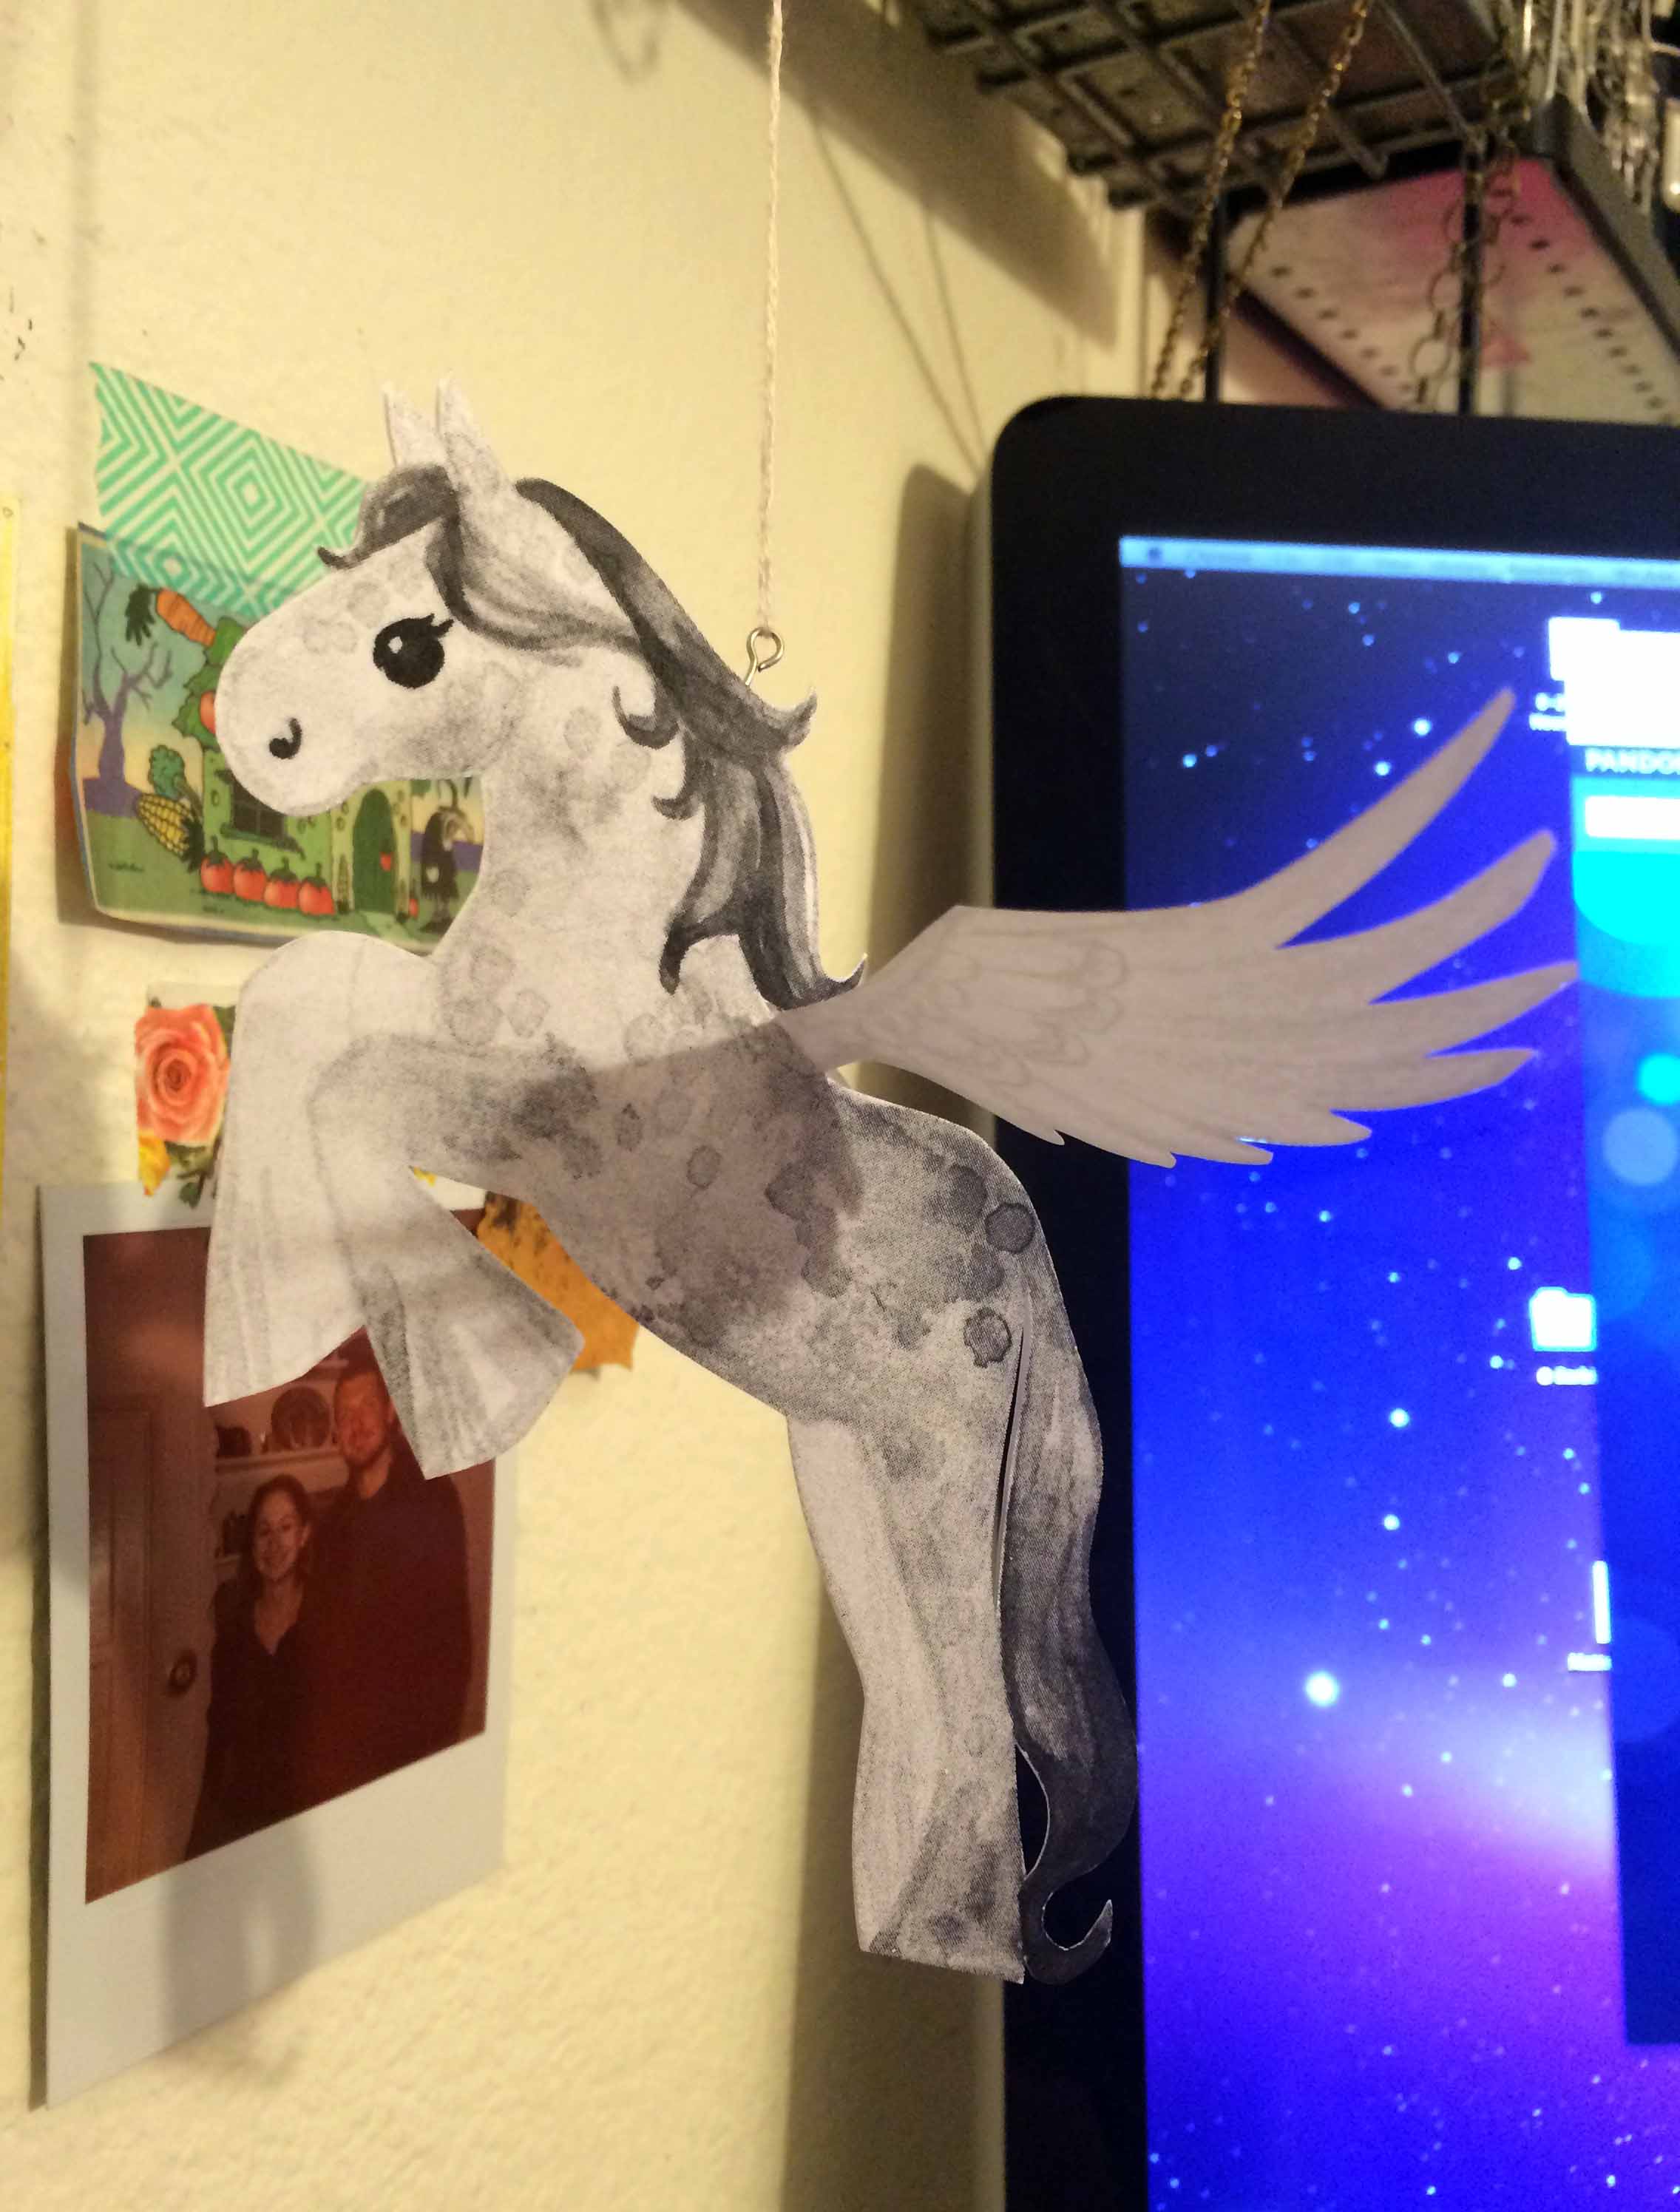
In April I exhibited at my first ever convention, CTN Road Trip in Burbank. I shared a booth with Katia Grifols and Neysa Bove. It was lots of fun and gave me an excuse to make a bunch of PONIES! I was feeling like my personal creativity had been restricted for a while, so felt inspired to make horses that looked like they could fly and be free with no rules! So I decided to give them wings. I am also obsessed with things that hang, so I cut them out so they can be hung up.
This was my process:
First I made a quick mock up for scale out of regluar printer paper, string and paper clips. I painted a pony, scanned it in, and printed it on my cheap bw printer.
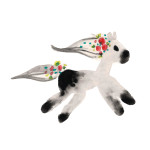
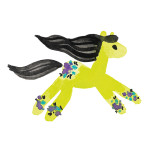
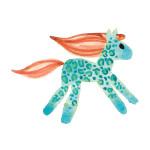
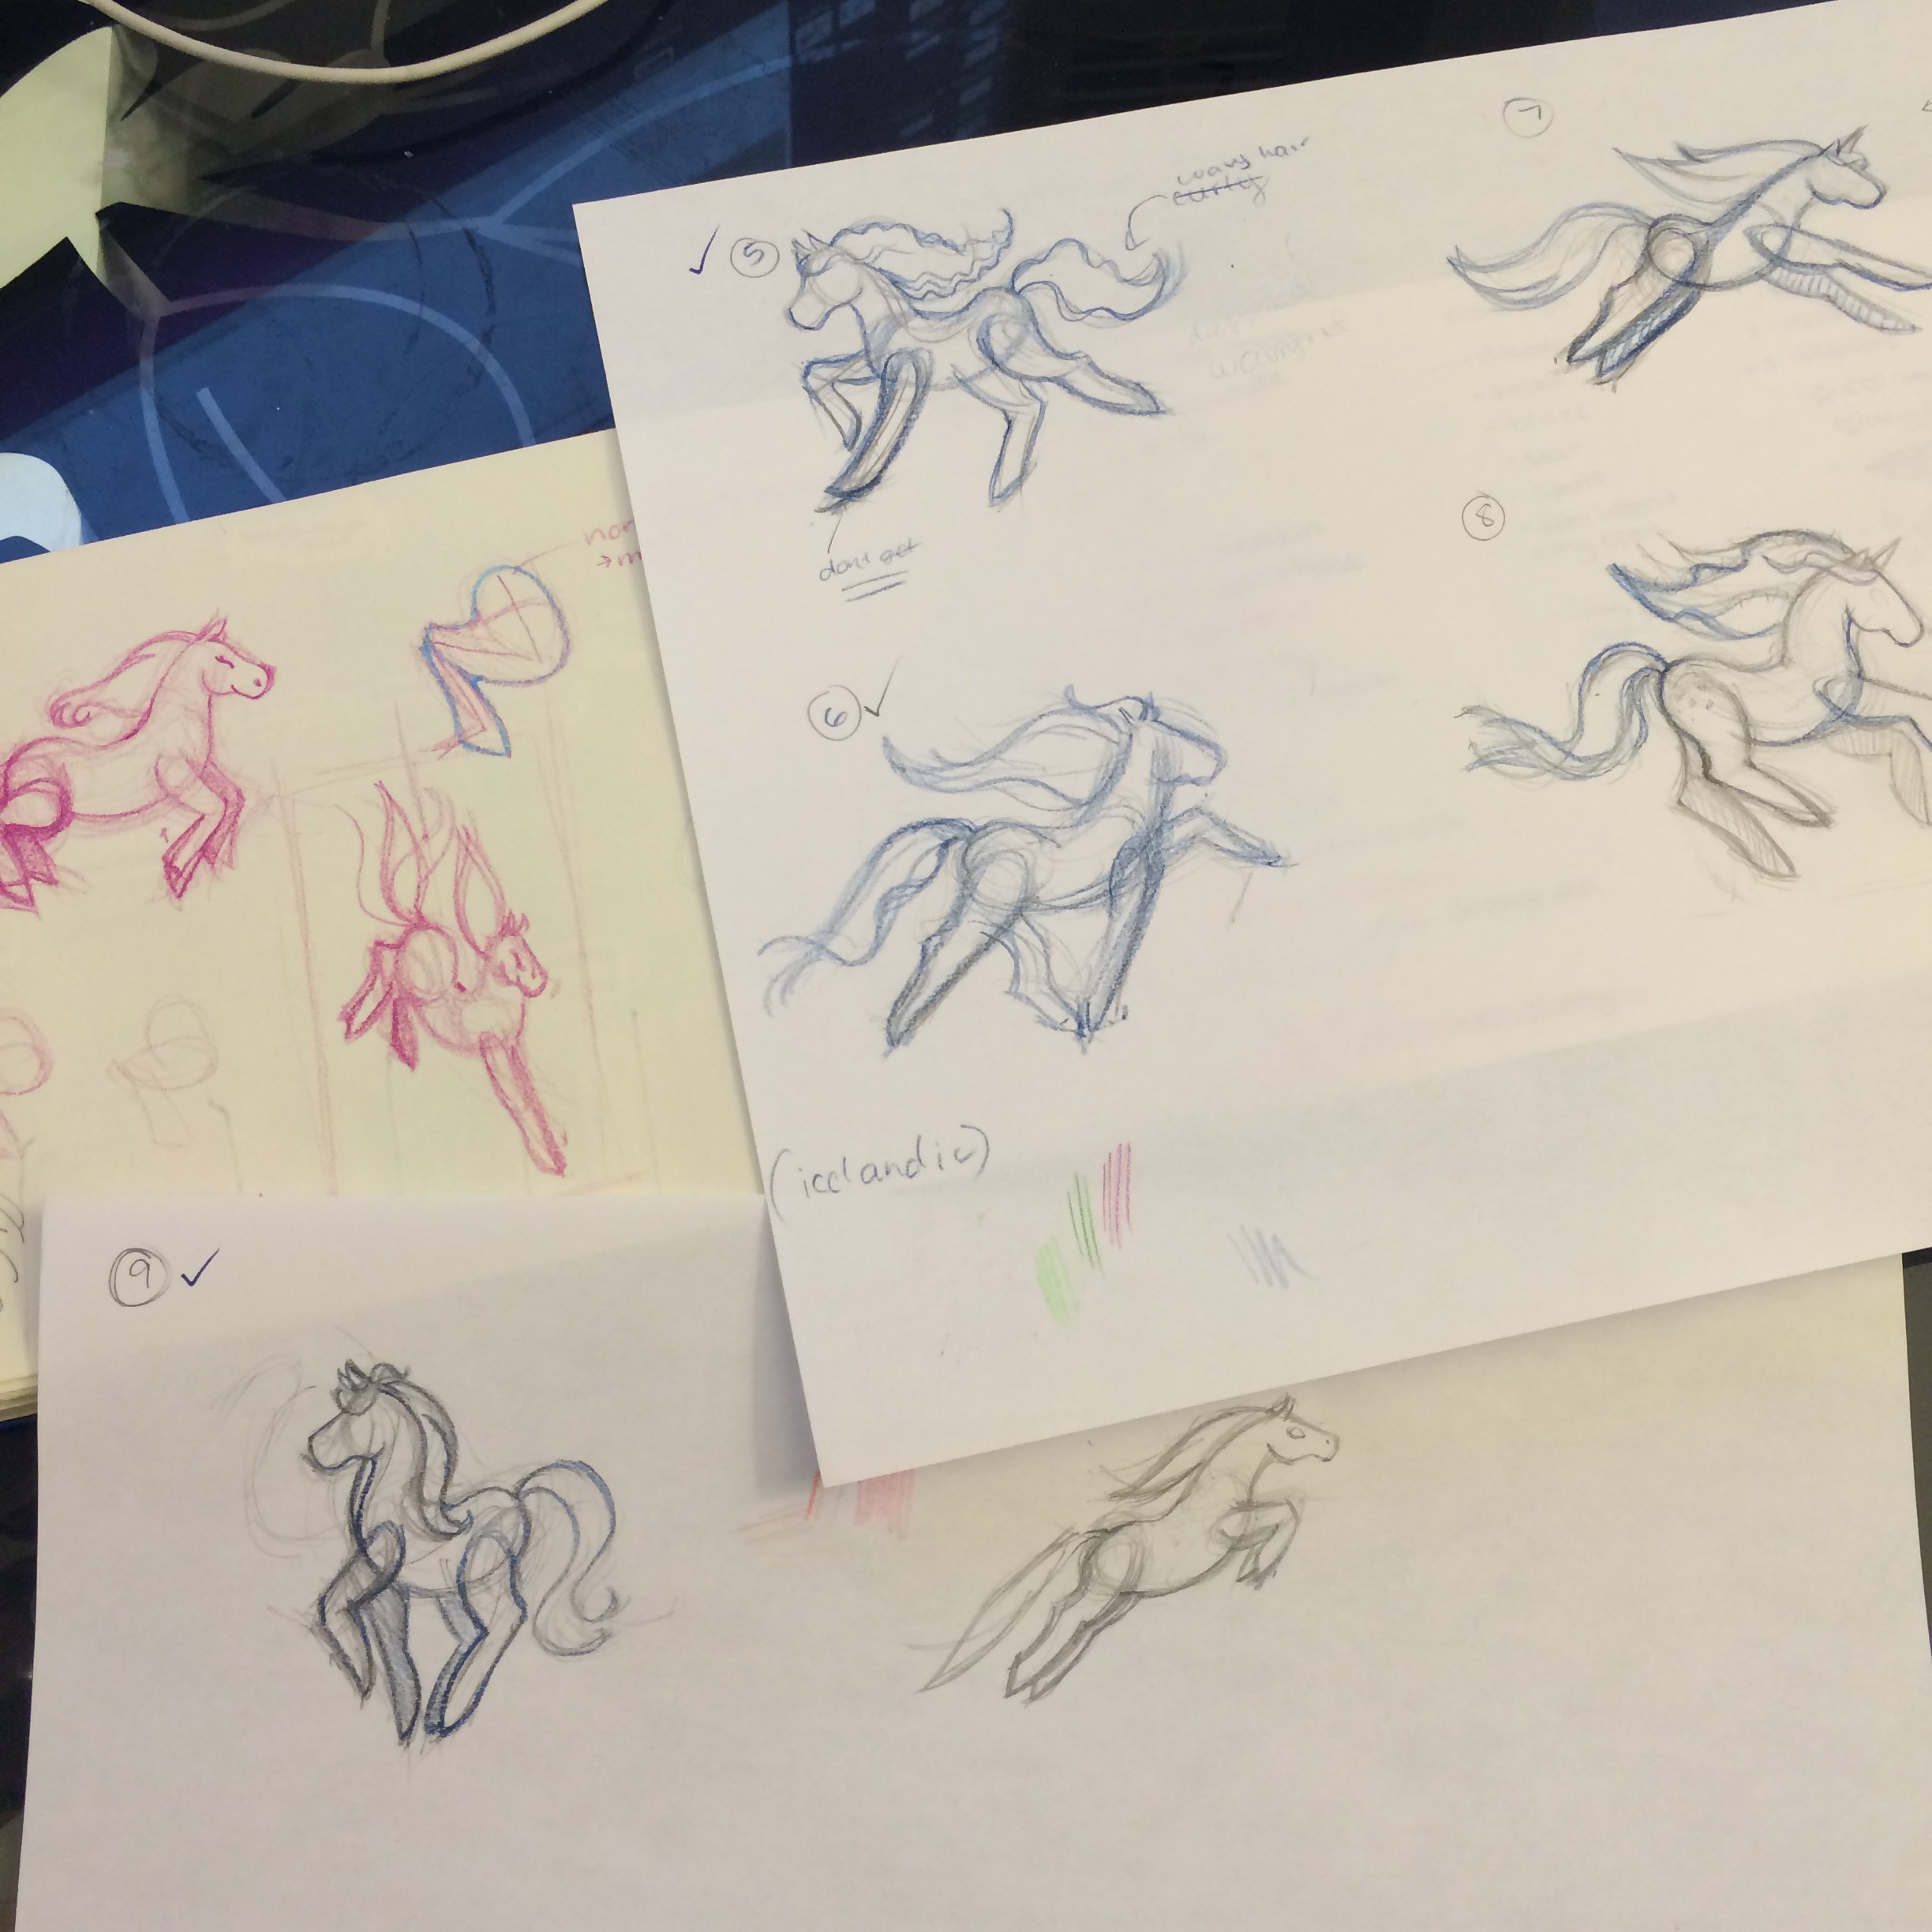
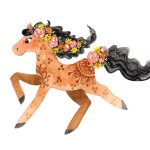
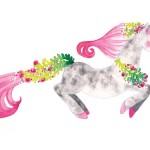
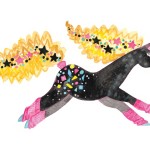
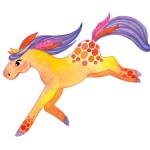
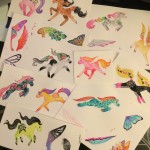
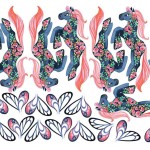
Once I had proof of concept, I started making thumnails. I have been doing separate thumnails for color and pose lately since it is just easier that way – I only have to think about one thing at a time. I just made these really quick to help me figure things out, but when I posted them to instagram people seemed to really respond to the color thumnails so I actually ended up reproducing them as mini cards. They will be on my etsy soon!
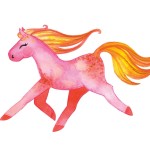
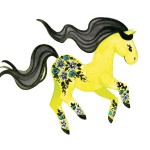
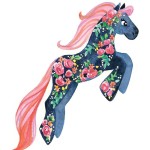
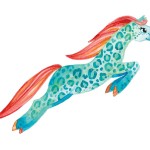
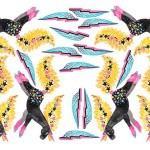
I used bright colors because I wanted them to feel happy, and also used a lot of patterns. I themed a lot of them and let myself go with whatever ridiculous idea popped into my head. Normally I give myself a lot of rules and try to make things organized and matching, but for these I just ran with whatever I felt like, fly and be free!

I wanted their poses to feel like they were bounding carefree through the sky, so I made sure none of their hooves look like they were parallel to the ground. I used images from my Pinterest Horse Board for reference. These are some of my pose thumbnails:
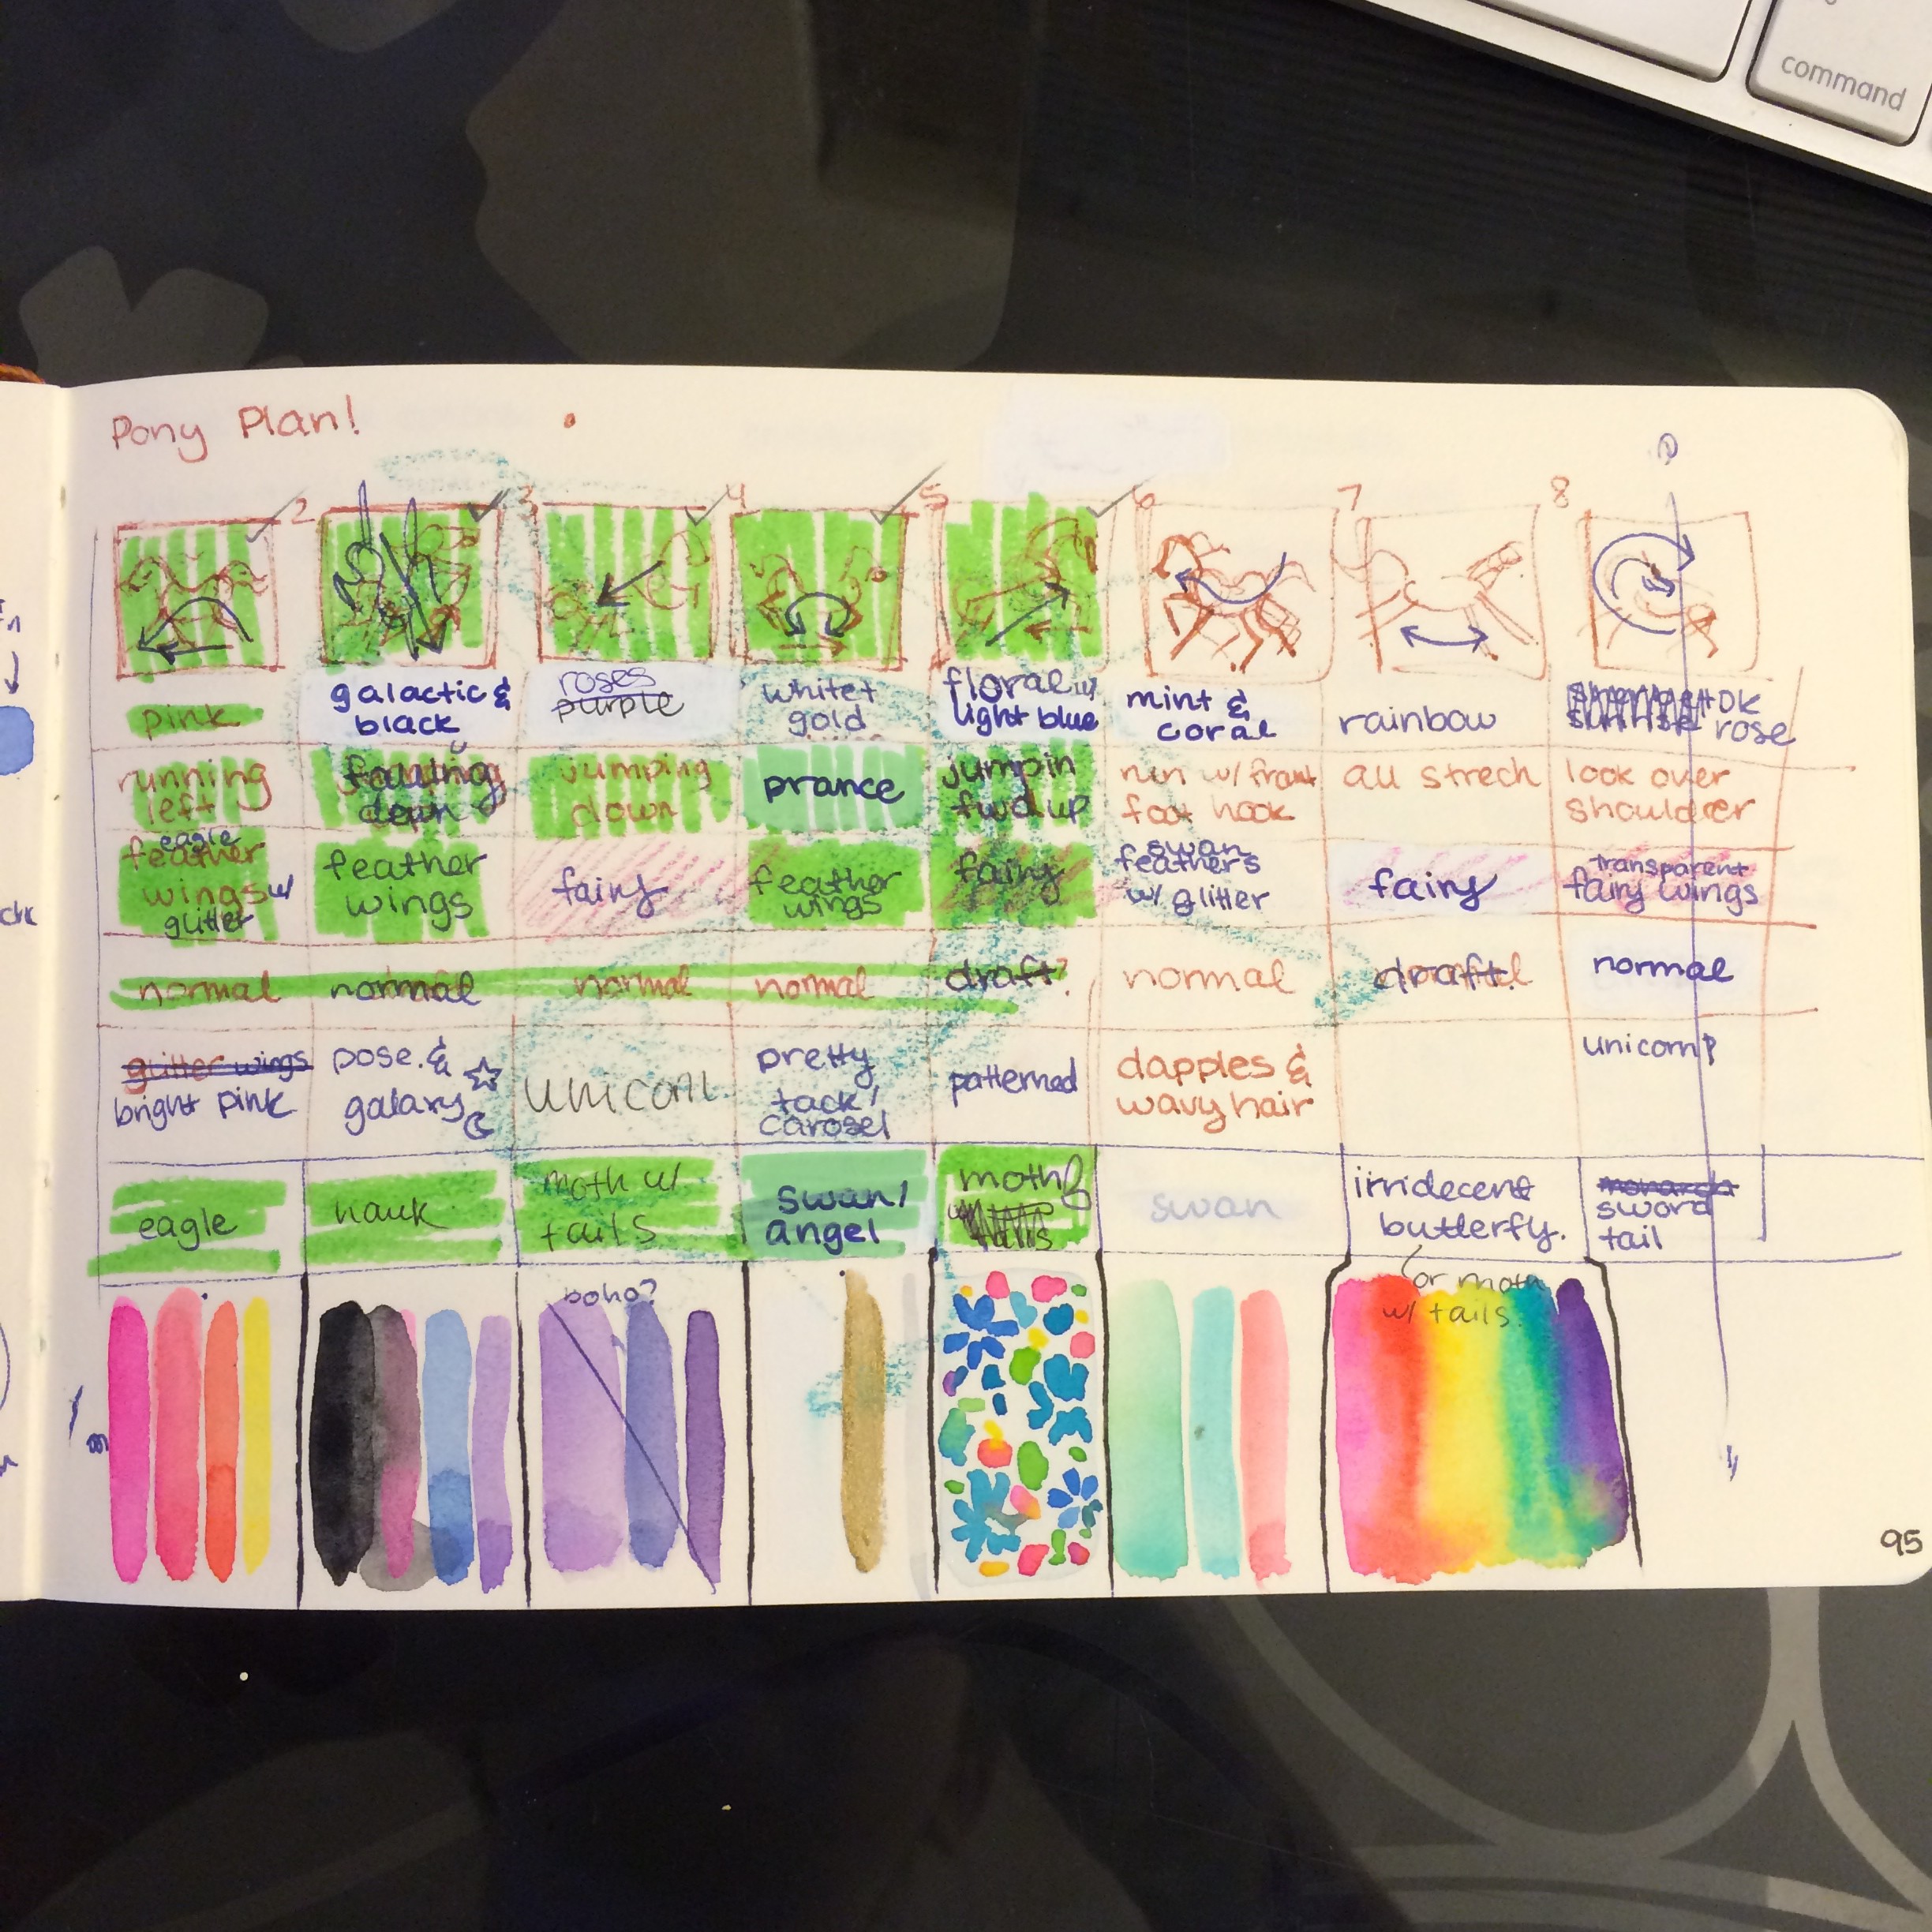
I also made a chart to help me make sure that they would all have different colors, poses, etc. As a toy designer I often have to think about how to make all the items in an assortment a little bit different from each other but still related, so this is a habit.
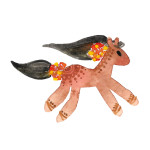
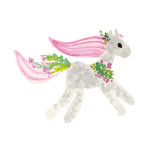
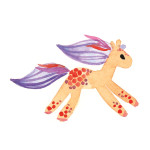
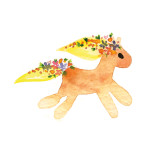
Once I had my plan in place I was ready to paint the final ponies! I sketched them in prismacolor pencil on watercolor paper, and painted them using watercolor and gouache (I thin it down and use it interchangeably with watercolor). This part is really fun because all the thinking an planning is done and I can just color! However it can be a bit stressful though because I feel a lot of pressure to make things “perfect” because it is “final”. I am trying to work on letting that feeling go because my work tends to turn out better when I am not trying so hard.
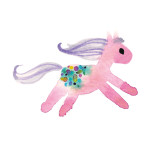
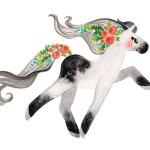
These are the finished painted ponies:

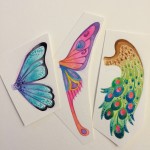
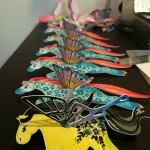
THEN I had to make the wings! I didn’t paint these on the same paper as the ponies because my plan all along was to make dimensional hanging ponies with 3D wings, so the wings had to be made as separate pieces. Back to pinterest for wing inspiration! Here are some WIP images of the wings:
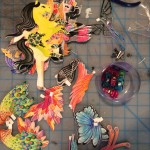
After that I scanned in everything and cleaned it up. Then I laid it out and made vectors that my Silhouette Cameo can read and printed the ponies using my friend Katia’s fancy Epson printer on watercolor paper. I ran the print outs through my Silhouette Cameo to cut out the pieces (it is an amazing machine and I highly recommend it!). This step is a lot more complicated that it sounds, there is a lot of counting, mirroring, and technical fussing with the computer involved. This is an example of what the ponies look like when they come out of the printer, before cutting:
After that I had all my pieces and it was time to assemble them! I hung them from my dinning table light (ikea) so they wouldn’t get tangled after I put them together. It took forever!
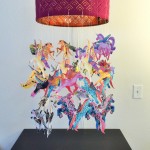
Whew! Here is a 360 of one of the final flutter ponies:
Then I packed them up and took them to CTN Road trip to sell! The ponies and me in our booth:

In addition to hanging “flutter ponies” I reproduced the art on cards and as regular prints, which will be available in My Etsy shop soon and at my upcoming art show, The Girly Show at Pop Secret Gallery in Eagle Rock June 13th.
How beautiful!!! This is so amazing! Your process looks so organized that I’m incredibly envious. 😉 such a clean finished result that is so full of details. Great work!